Australian Cruise

Australian Cruise
Our first full day in Australia, 2012, on a Freemantle beach.

Saturday, May 31, 2014

Demolition begins!

Today, Saturday, May 31, we began the demolition of our old porch!  We were very grateful for the added muscles of our son, Thomas.  So glad he was there!

First, we had to remove the roof over the porch, since it was attached.  Tom and John (with me helping with support) took the roof off, then started dismantling it right there on the porch.  It was so heavy, we couldn't just throw it over.  Plus, we didn't want anything down below to get damaged!
Partially dismantled roof.

Tom helping support roof.

Inside looking out at the partially dismantled roof.


 When all but one lag screw was left, Tom and John supported the roof while I unscrewed the last thing holding it on!  Thankfully, the beams and the carport roof also helped support it.  It was VERY heavy!


They took the shingles off first, then some of the plywood, then some 2x4s, then more of the plywood, then more 2x4s.  When it was finally light enough to handle safely, they carefully put it over the side, while I directed it's fall. 

After it was down, then my job was taking it apart all the way and getting all the nails out.  Now there are just piles of 2x4s, plywood, hardware, screws and nails!

Taking off the ballisters was easy with a screw bit in the drill.  We stopped at 3:00 and next week will take down the porch and the stairs.

My strong John!  Almost done for the day.


Done for the day!  The porch is no longer safe, so it has no railing or ballisters.


Getting in the footings.

I didn't take photos on May 26th, because the "work" that we did was figuring out what we needed (drew plans on the computer), listing the supplies, doing a lot of measuring, going to the store, and ordering the supplies.  This took hours!  Then he really went to work.  He took out all the grass that would be under our new deck.  He moved a sprinkler head, so it wouldn't be spraying under our new deck.  Then he dug the post holes! We didn't put the cement in them, as we were having the cement bags delivered with the rest of the supplies.

  The supplies were delivered on Thursday, but there was no time to do anything on the deck that day.  When John got home from work on Friday, though, we mixed up the cement and poured the footings.  Yeah!

Grass removed, sprinkler moved, and footings poured.
John had the great idea to use one of our post to make sure the beam supports were straight and in line with each other.  Cool, huh?

Building our deck

Well, I didn't realize that it has been almost 6 months since I posted anything.  Oops!  We went on a wonderful vacation, a cruise through Asia, that I will just have to skip, or post something later about it.

Right now, we have a PROJECT.  We are replacing our back porch with a small deck.  Nothing too fancy or big, but big enough to put a "real" barbeque on and a few chairs.  We've been talking about doing this for over a year, and we decided that this was THE year!  Yippee!

I have to say, I had misunderstood a major portion of this project.  I thought we were going to pay someone to build the deck! Not so..... John said he was looking forward to doing the work.  So this is our summer project!  We'll essentially work on it on Saturdays, holidays, and maybe some of the extra "vacation days" that John has coming.

Here are some photos of our back porch "before" we started.
Back porch viewed from carport.

Back porch viewed from stairs.


Notice the size of the BBQ.  It's the only size that fits!

These were taken May 25.  The work begins on May 26th!

Tuesday, January 28, 2014

Pinterest Testing- will lettuce continue to grow?

I know a lot of things will sprout if you just put them in water, but could I really make lettuce regrow?  I saw several pins, including this one: http://www.pinterest.com/pin/394276142348903220/
that said it was possible.

Easy to do: just cut the stump of lettuce, put in 1/2 inch of water, check water daily.

At first, the lettuce did great.  It shot up quite quickly.  In one week my lettuce looked like this:
After one week, it's grown a couple of inches, and looking pretty!


I kept changing the water every day, but the growth slowed down a little, and after 2 weeks I decided it wasn't going to work, at least this time around.  After 2 1/2 weeks, I took the following pictures, and then threw the lettuce away.
The growth has not been too bad, but do you see the rot?


Changing the water every day didn't stop it from going rotten.
The rot was all the way through.  Yuk!


 I've seen the pictures, and am quite sure it can be done.  At first, it was working, but we are talking a few inches a week, at most!  Is it really worth the trouble to do this for a month or more, and hope it doesn't rot like mine did?  Not for me.

I can see in the summer, if I plant lettuce, to just cut off the top, and let it keep growing in the ground.  This was way too much trouble for rotten lettuce.  Won't try it again in just water.


Saturday, November 9, 2013

Jack-O-Lantern 2013

Over the last few years I have found how fun it is to carve Jack-)-Lanterns.  This year I decided to do something fairly easy, since I still haven't found my Dremel tool, nor bought a new one, and didn't want to spend all day carving.  So, here it is!
It's pretty cute, but not too fancy.  Since I just did it with a sharp paring knife, it only took me about an hour to carve.

I had seen a Pin telling how to preserve your pumpkin carving so it would last longer.  It states to spray a mixture of bleach and water on the inside and outside of the pumpkin daily to prevent mold.  It also suggested petroleum jelly to prevent dehydration.  I didn't do that part.

I didn't have a spray bottle available, so instead just used a sponge, wet it with a mixture of bleach and water (I did about half and half, since I was just using a little bit), and just wet the pumpkin inside and out with the sponge.  I did it almost every day, just missing the very first day I carved it and one in the middle somewhere. 

Here's what my pumpkin looks like now after 10 days:
You can see it has dehydrated a little bit, but I actually think it looks pretty cool!  The lines between the shoes and in the broom can be seen quite nicely during the day, and not just when it's dark and lit up.  The bat is getting quite small, though. :-)

I had planned on just keeping this up every day to see how long it would last, but I'm kind of tired of it, so will now be stopping my daily sponging.  I believe it did show that the bleach water helps a lot, and that means that next year I can carve my pumpkin earlier, and not have to wait until right before Halloween to have it look good on Halloween!

Here are some pumpkins from the last few years (didn't do one in 2011.):
2010 pumpkin  

2012 pumpkin, haunted house


Sunday, August 18, 2013

So much to talk about....

I've done a LOT since I posted last: canned 95 bottles of apricot-pineapple jam, 9 quarts of white grape juice, went on a 10 day vacation back East, (my photos are still in the camera!), etc., etc.  But yesterday I decided I wanted to graph a filet crochet chart from a photo of an old, gorgeous tablecloth.

I saw a photo of the tablecloth here: http://tarragonnthyme.blogspot.com/2011/10/crochet-table-cloth.html
"Pattypan" picked up the tablecloth at a charity store for 4 pounds.  Wow!!!

Anyway, I really loved the pattern, so decided to graph it. First, I used my own graph paper and drew out the design.  This took a couple of hours!  Longer than I thought, for sure.  Then I used my Gimp program (free program like Photoshop), and pasted in 1/4 inch graph paper.  Pasted 2 pages together, then started filling in the blocks, with "bucket fill."  For the lacet stitch, I used a pattern bucket fill instead of drawing the lines with "pencil", so it's not quite perfect, but it was a lot easier.

Here is the motif, with 4 copies:

 I may find that there was an easier way to do it, but I am pleased with the results!

Wednesday, June 5, 2013

Utila, Above the Water!

Most of our time in Utila was under the water, but since I want to include photos, and those are going to take a longer time to go through, I'm going to do a post of ABOVE the water, and later I'll do a post of BELOW the water.  Easier for you to read, anyway!

 Here's our first look at Honduras from the plane.  We landed in Roatan.

It was a very small airport.  The flights to the U.S. are only on Saturdays.

Then we had to take two ferries to get to Utila, then a small boat to get to the resort.  Quite a journey. Here's one of our ferries.  (There were private airplane charters available, but we didn't trust them!)


That was the larger ferry, from Roatan to Ciepa.  A smaller ferry took us to Utila.  The waves were big that day, and I got very green.
When we took it back, it was much better, BUT the sea was rough for the larger ferry.  Several little kids lost their lunch.

Here's a few photos taken around the resort.  The owner's son worked there, and he had a dog, Coco.  She is 2 years old, and loves everyone.  If we went on a walk, Coco was there!  She took naps on our porch several times.  She was really fun.
Lots of these!

The "whale" pool.

The main beach of the resort.

Main beach, looking the opposite direction.

Coco, on our porch.

See Coco?


Just a little farther from the main part of the resort, looking from the beach.

Some of the building at the resort.  The one on the left is the dining room and kitchen.

The Dive Shop!  Met our group out back at the dock every morning at 8 a.m.

Pathway in-between cabins.

Our cabin!
We had a great group!  There were 10 of us all together.  But we can't forget our dive master and boat captain!
Our last meal together.  One couple had already gone home.
Our dive master and boat captain.  They were great!

Our group on the boat.


On Sundays we went to church in the "city."  It was a small branch.  We enjoyed it very much.
Church from the street: it's on the 2nd floor.
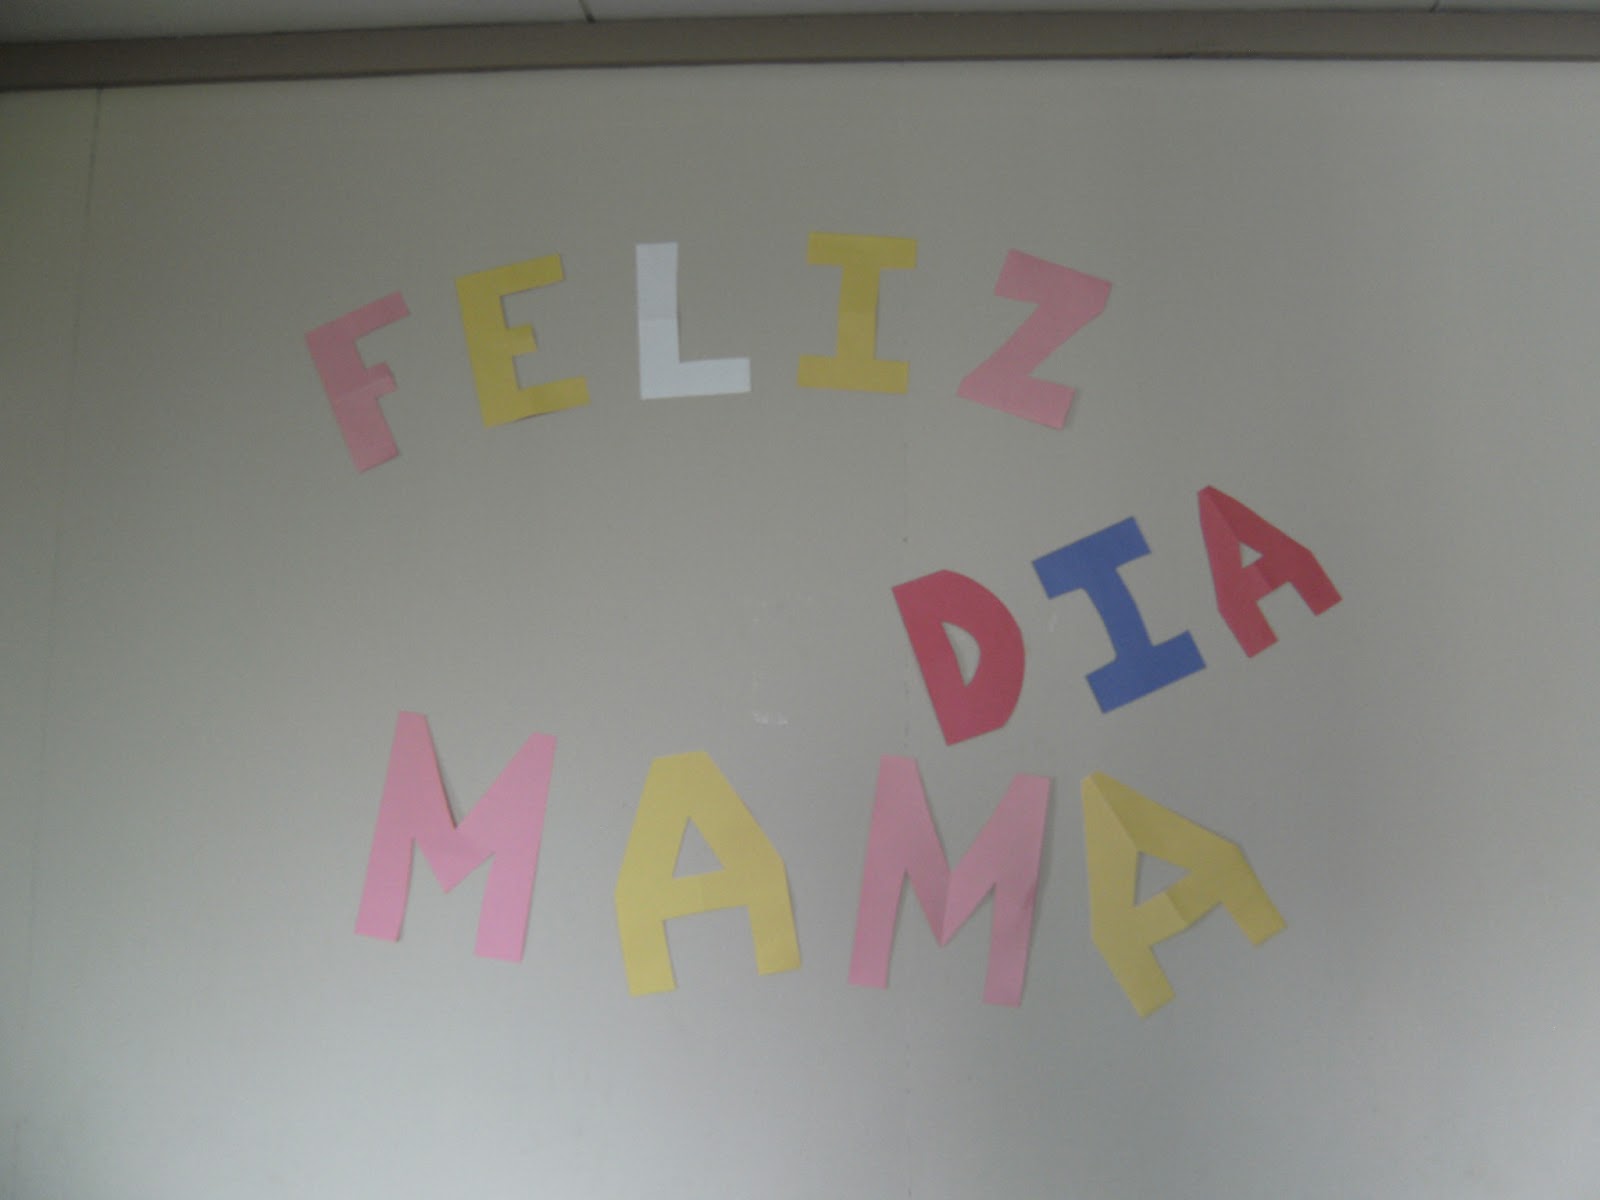
Decorations for Mother's Day!  We each were given a little basket with Hershey's kisses.  Yum!
The "front door", after you climb about 15 stairs!

 That's all for today!  Next time it will be dive pictures!